Basic Modeling
Here is a tutorial to help us create a 3-D hammer using Blender. There are lots of modelling tips in the tutorial too, so let's do this together and learn a few new tricks.
https://www.youtube.com/watch?v=elUJCEC06r8
Adding Materials
Once we have created the hammer, let's add materials to bring it to life.
https://www.youtube.com/watch?v=fZSD7pVIUkY
Links
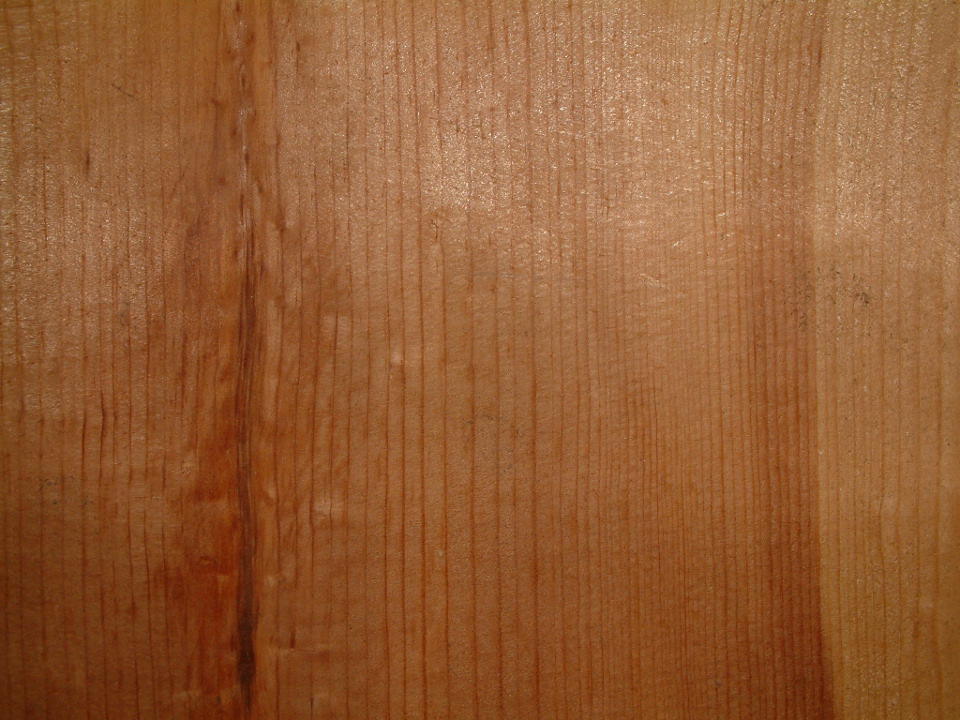
Wood texture image fro handle:
http://www.littlewebhut.com/images/wood_texture.jpg
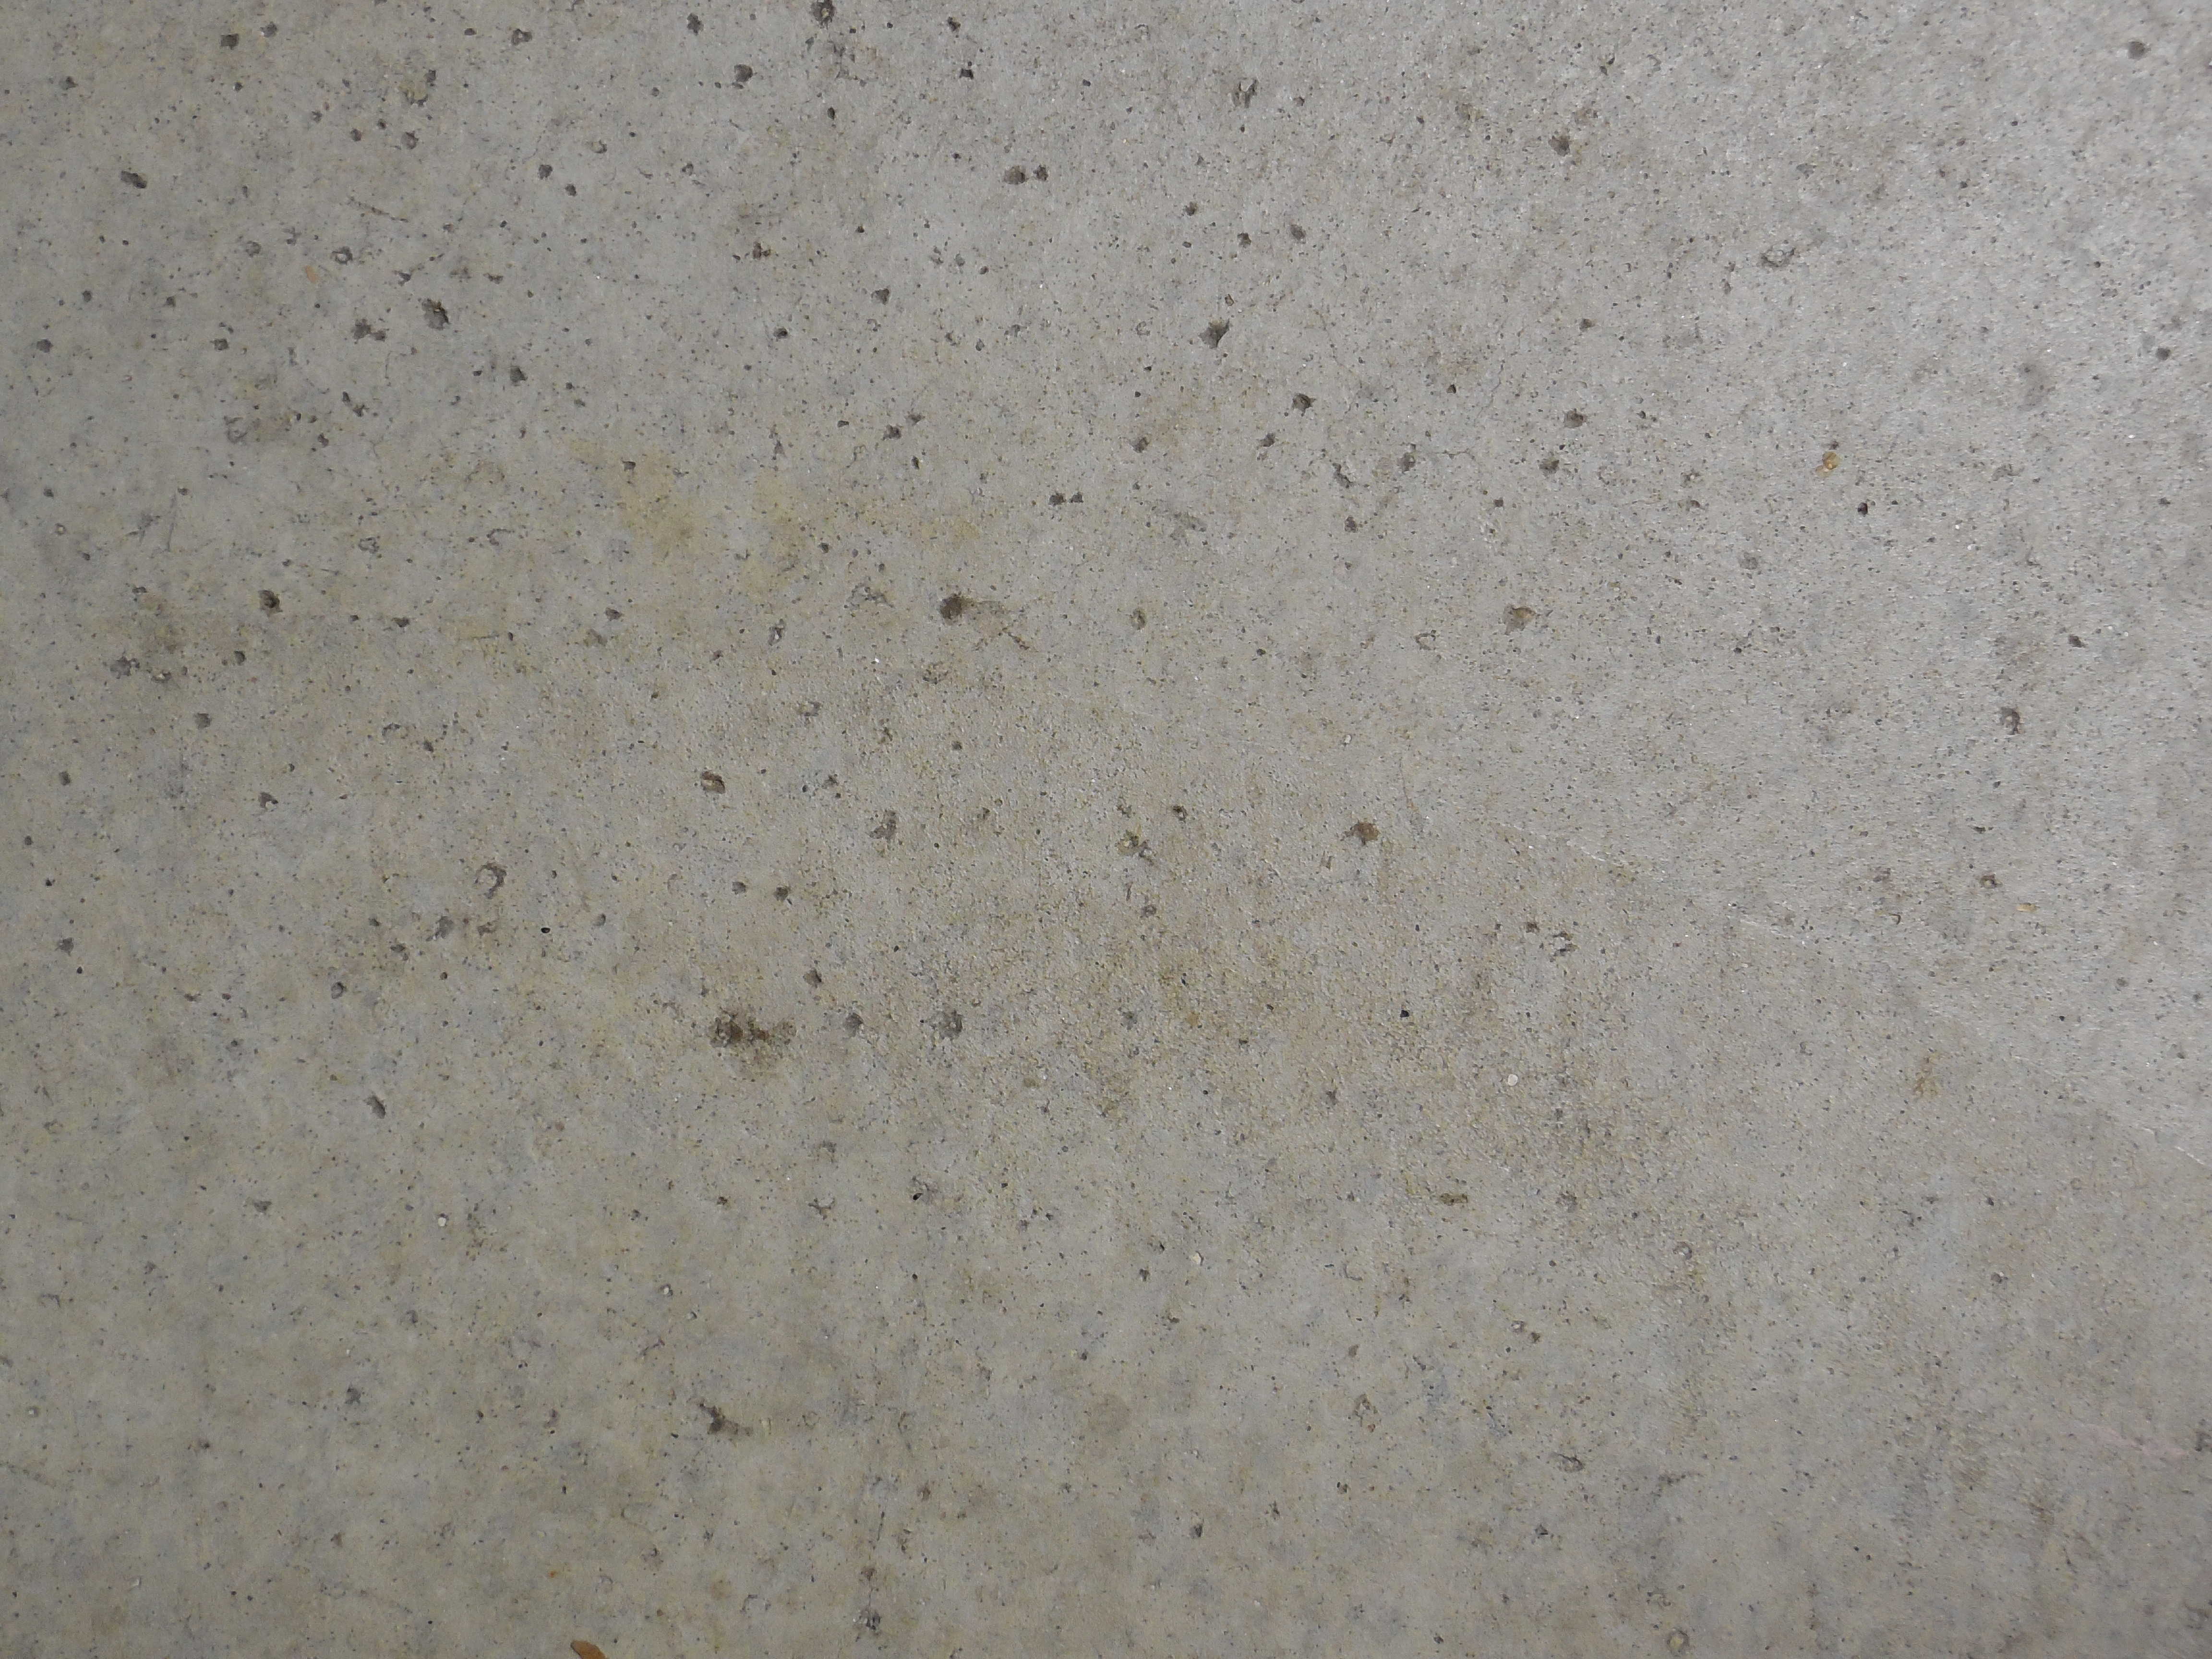
Concrete floor image for hammer head:
http://www.littlewebhut.com/images/concrete_floor.jpg
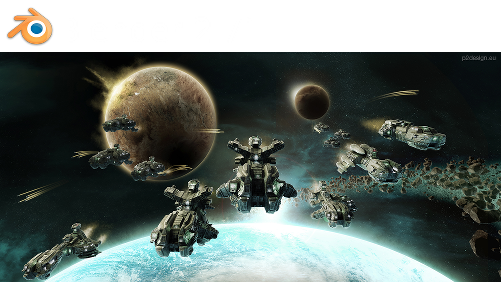
Environment image:
http://www.littlewebhut.com/images/outdoors.jpg
Animation students should check in regularly to see what we are doing in class- events, links, and resources.
Sunday, January 5, 2020
Wednesday, December 18, 2019
BLENDER: Materializing Objects Selected faces
This technique allows you to change the colours of certain parts of the same object and adding a material and texture to it. This is good for materializing facial features like eyes, man made objects and anything you can think of. To change the colours of selected faces only, follow these steps:
1) Select the object in object mode.
2) Add a material to the selected object. In this first material slot you can change the colour of the entire object and give it a distinct name.
3) Add a second slot by clicking on the top "+" icon in the materials panel.
4) Be sure to delete the material in the new slot and add a new material to it with a distinct name.
5) Go into edit mode and select the faces you want to change the colours of. Make sure that you are in the new slot after doing this.
6) Now ad the colour in the new slot. You will notice that the selected faces have not changed colour yet.
7) Finally click "assign" near the top of the materials panel to change the colour on the selected faces.
Here's a tutorial to add materials to an object;
https://www.youtube.com/watch?v=XI-pZshRp8g
https://www.youtube.com/watch?v=wgeP5HKuBX8
1) Select the object in object mode.
2) Add a material to the selected object. In this first material slot you can change the colour of the entire object and give it a distinct name.
3) Add a second slot by clicking on the top "+" icon in the materials panel.
4) Be sure to delete the material in the new slot and add a new material to it with a distinct name.
5) Go into edit mode and select the faces you want to change the colours of. Make sure that you are in the new slot after doing this.
6) Now ad the colour in the new slot. You will notice that the selected faces have not changed colour yet.
7) Finally click "assign" near the top of the materials panel to change the colour on the selected faces.
Here's a tutorial to add materials to an object;
https://www.youtube.com/watch?v=XI-pZshRp8g
https://www.youtube.com/watch?v=wgeP5HKuBX8
Monday, December 9, 2019
3-D Computer Generated Animation with Blender
An introduction tutorial in using "Blender", a 3-D animation program that generates 3 dimensional graphics and animates them.
Here are a few beginner tutorials to check out:
http://www.blender.org/
http://www.blender.org/education-help/tutorials/
http://www.youtube.com/watch?v=u2F_KZELSW0
http://www.youtube.com/watch?v=ozlwcQT-U20
Here are a few beginner tutorials to check out:
http://www.blender.org/
http://www.blender.org/education-help/tutorials/
http://www.youtube.com/watch?v=u2F_KZELSW0
http://www.youtube.com/watch?v=ozlwcQT-U20
Intro to Blender

Blender is a professional free and open-source 3D computer graphics software product used for creating animated films, visual effects, art, 3D printed models, interactive 3D applications and video games. Blender's features include 3D modeling, UV unwrapping, texturing, raster graphics editing, rigging and skinning, fluid and smoke simulation, particle simulation, soft body simulation, sculpting, animating, match moving, camera tracking, rendering, video editing and compositing. It further features an integrated game engine. Blender is not only used for 3-D computer animation, it is also incorporated for industrial design and video games.
We begin in blender by looking at the interface: windows, menus, tools, and basic controls and functions. Then we will explore ways to move, rotate and scale 3D objects. We also briefly touch how to edit the vertices of an object in "edit mode" which we will go into detail about tomorrow.
Sintel
Operation Barber Shop
Spring
La Cour
Big Buck Bunny
The Present
Sunday, December 8, 2019
Blender Hotkeys
Here are some buttons or "hotkeys" short cuts.
Hotkeys
These work in both edit mode and object mode:
g = move what is selected
r = rotate what is selected
s = scale what is selected
a = deselect/select all
These work in edit mode only:
w = accesses menu to subdivide and do other things
e = extrudes what has been selected
alt rightclick = select ring of vertices, edges or faces
ctrl r = adds loop cuts
Navigational hotkeys:
numpad 0 = camera view
numpad 1 = front view
numpad 3 = side view
numpad 7 = top view
numpad decimal = orbit around what is selected
Camera controls:
alt ctrl numpad 0 = moves camera to current view
Blender Hot Key Google Doc
Hotkeys
These work in both edit mode and object mode:
g = move what is selected
r = rotate what is selected
s = scale what is selected
a = deselect/select all
These work in edit mode only:
w = accesses menu to subdivide and do other things
e = extrudes what has been selected
alt rightclick = select ring of vertices, edges or faces
ctrl r = adds loop cuts
Navigational hotkeys:
numpad 0 = camera view
numpad 1 = front view
numpad 3 = side view
numpad 7 = top view
numpad decimal = orbit around what is selected
Camera controls:
alt ctrl numpad 0 = moves camera to current view
| Ctrl+Spacebar | Toggle manipulator |
| Alt+Spacebar | Change manipulator orientation |
| Tab | Toggle Edit mode |
| Shift+Tab | Toggle snapping |
Blender Hot Key Google Doc
Monday, September 30, 2019
Assignment 3: Stop Motion Animation
Stop Motion Animation Tutorial with jelly beans
Stop Motion Tips
Occupation: Animator
(notes on) Biology
The Animation of Man
Own the Sky
Think of an idea for your animation. Make sure it is feasible with the resources you have, and let your mind loose! It doesn't have to be complicated, or it could be a movie. Just have a brainstorm, and see what you come up with.
STORYBOARD
The next step is to make a storyboard. A storyboard has the main ideas of the story, visually, so it's easier to make the animation. Add the main ideas in each box, and write a short description underneath. This will help you make the animation.
SCENES & CHARACTERS
Now it is time to create your scenes and figures. They can be made from anything, or they can be real life.
Stop Motion Tips
Occupation: Animator
(notes on) Biology
The Animation of Man
Own the Sky
- Camera (digital camera, or even a phone)
- Tripod (or something to hold your camera in the same position)
- Computer
- Animating program, such as MonkeyJam, SAM Animation, Dragon Animation or even iMovie, or Windows Movie Maker
- Materials needed to create your scenes and characters (this can be paper, clay, paints, etc.)
- Writing Paper
- And, of course, your IMAGINATION!
Think of an idea for your animation. Make sure it is feasible with the resources you have, and let your mind loose! It doesn't have to be complicated, or it could be a movie. Just have a brainstorm, and see what you come up with.
STORYBOARD
The next step is to make a storyboard. A storyboard has the main ideas of the story, visually, so it's easier to make the animation. Add the main ideas in each box, and write a short description underneath. This will help you make the animation.
SCENES & CHARACTERS
Now it is time to create your scenes and figures. They can be made from anything, or they can be real life.
Time to get started! Set up a tripod with camera/phone on it,
to make sure it doesn't move while you're making the animation. Consistent lighting, exposure and colour balance.
Put your figure in the first position in your scene.
Now, you're ready!
Using your storyboard to help you, take a picture of your figure in the first position. Then, move the figure a little bit, and take the next picture. Move it again, and take another picture. Make sure you don't move the camera AT ANY TIME, and only make SUBTLE MOVEMENTS to your scene and figures each time. Carry on moving the figure, taking a picture every time you do. TIP: if you want a certain point in your animation longer, just take lots of pictures of the same moment! If the scene moves a bit, DON'T WORRY, this will give the animation a bit of character and quirkiness!
You can change the scenes, add more characters, and once you get the hang of it, you'll be having fun, and be great at it! The only thing you need is PATIENCE. Stop-motion can require hundreds, if not thousands of pictures. The one at the start needed 700 photos! So, have fun, practice and be patient.
Once you have all your photos, upload them onto your computer. Make sure you have an animating program, many of which are free (unless you want to be professional), and great for beginners. Here are some examples:
Put your figure in the first position in your scene.
Now, you're ready!
Using your storyboard to help you, take a picture of your figure in the first position. Then, move the figure a little bit, and take the next picture. Move it again, and take another picture. Make sure you don't move the camera AT ANY TIME, and only make SUBTLE MOVEMENTS to your scene and figures each time. Carry on moving the figure, taking a picture every time you do. TIP: if you want a certain point in your animation longer, just take lots of pictures of the same moment! If the scene moves a bit, DON'T WORRY, this will give the animation a bit of character and quirkiness!
You can change the scenes, add more characters, and once you get the hang of it, you'll be having fun, and be great at it! The only thing you need is PATIENCE. Stop-motion can require hundreds, if not thousands of pictures. The one at the start needed 700 photos! So, have fun, practice and be patient.
Once you have all your photos, upload them onto your computer. Make sure you have an animating program, many of which are free (unless you want to be professional), and great for beginners. Here are some examples:
- MonkeyJam
- SAM Animation
- Dragon Animation (professional)
- iMovie
- Windows Movie Maker
Tuesday, September 24, 2019
Animated E-Card
Here are some suggestions in making your animated e-card. Make sure you have a clear topic/salutation and all of the information related to your topic. Organize the space and the movement to clarify your idea.
Include the following:
- Opening introduction sets up e-card topic (but doesn't give it away).
- Establish scene- include a simple background.
- Medium shot of point of interest related to card topic.
- Graphics, colours, character(s), movement relates to topic.
- Close up of final salutation.
Subscribe to:
Posts (Atom)