Here some examples of what 3D animators do in the industry. You can see that their process is similar to your own 3D animation project. They thought of a story, made the characters and scenes and then rigged and animated them.
Your animated shorts must tell a story yet can have a simple concept. The story/characters/visuals are there to evoke emotion. Do you want your viewers to laugh, cry, feel angry, feel afraid, etc.
Research other animated shorts:
Who are the characters?
What is the conflict?
Describe the scene, mood, atmosphere, style?
What camera perspectives are used? Why?
Is the conflict resolved at the end? How?
Planning
Collaborate to generate many ideas about your own animated short (sketch, talk, act out your ideas).
Agree as a group on the best idea for your animated short.
Sketch out a rough storyboard.
Come up with a plan for production: Split up tasks (who works on effects, characters and the scene)
Also, if you want to animate a character with limbs or smalle moving parts, you will need to use bones.
For simple characters that have limbs, watch this:
Skin modifier
If you already have a model that needs to be rigged, watch this:
Adding a particle system to an object is really awesome if you want to animate hundreds or even thousands of smaller objects or particles. This could be smoke, fire, water, mud, snow, sparks, bees, rocks, trees, ANYTHING! You could use particles in the scene of your animation or even as part of the characters.
Intro to particle systems.
If you understand this and want to do more with particles, watch these tutorials below. Also check out BlenderGuru.com because he also uses particle systems in complex ways.
Today we began to animate objects. This is where we moved/rotated objects and then took a "snapshot" of the object's location/rotation by inserting a keyframe. To recap what we looked at today, you can watch this this quick tutorial by Blendercookie below.
Blendercookie's intro to keyframing
Remember, the more you experimentation you do and tutorials you watch, the more fun you can have with your final animation project. Again, feel free to email me at alexander.honeywell@gmail.com if you have any blender questions.
If you know that you are behind, please watch some of the tutorials above or below to get caught up. If you have a problem in blender, there is a very good chance there is a tutorial to fix it.
Downloading blender would allow you to have the flexibility to improve at home as well.
Today (tuesday) we looked at how to add textures to the objects we have created.
Textures can be found at cgtextures.com. By using textures on a mesh, you can help it look more "realistic" or stylized. Remember, any image can be placed on top of the mesh.
If you have been keeping up, you already have the skills to do a lot.
I also mentioned about Sculpting and Blender's Game Engine. I don't think there is time to go into these, but you can do some amazing things with them.
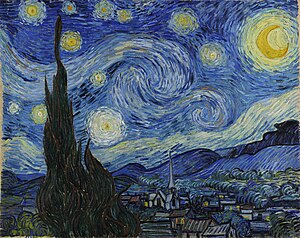
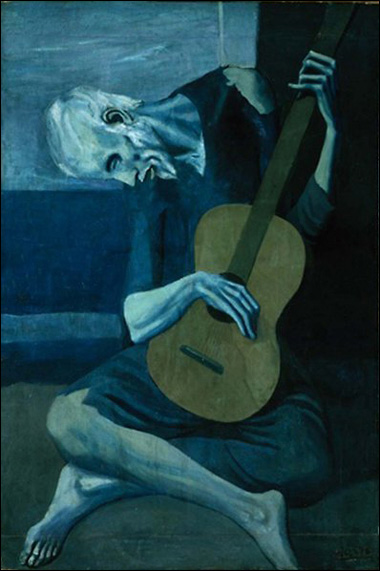
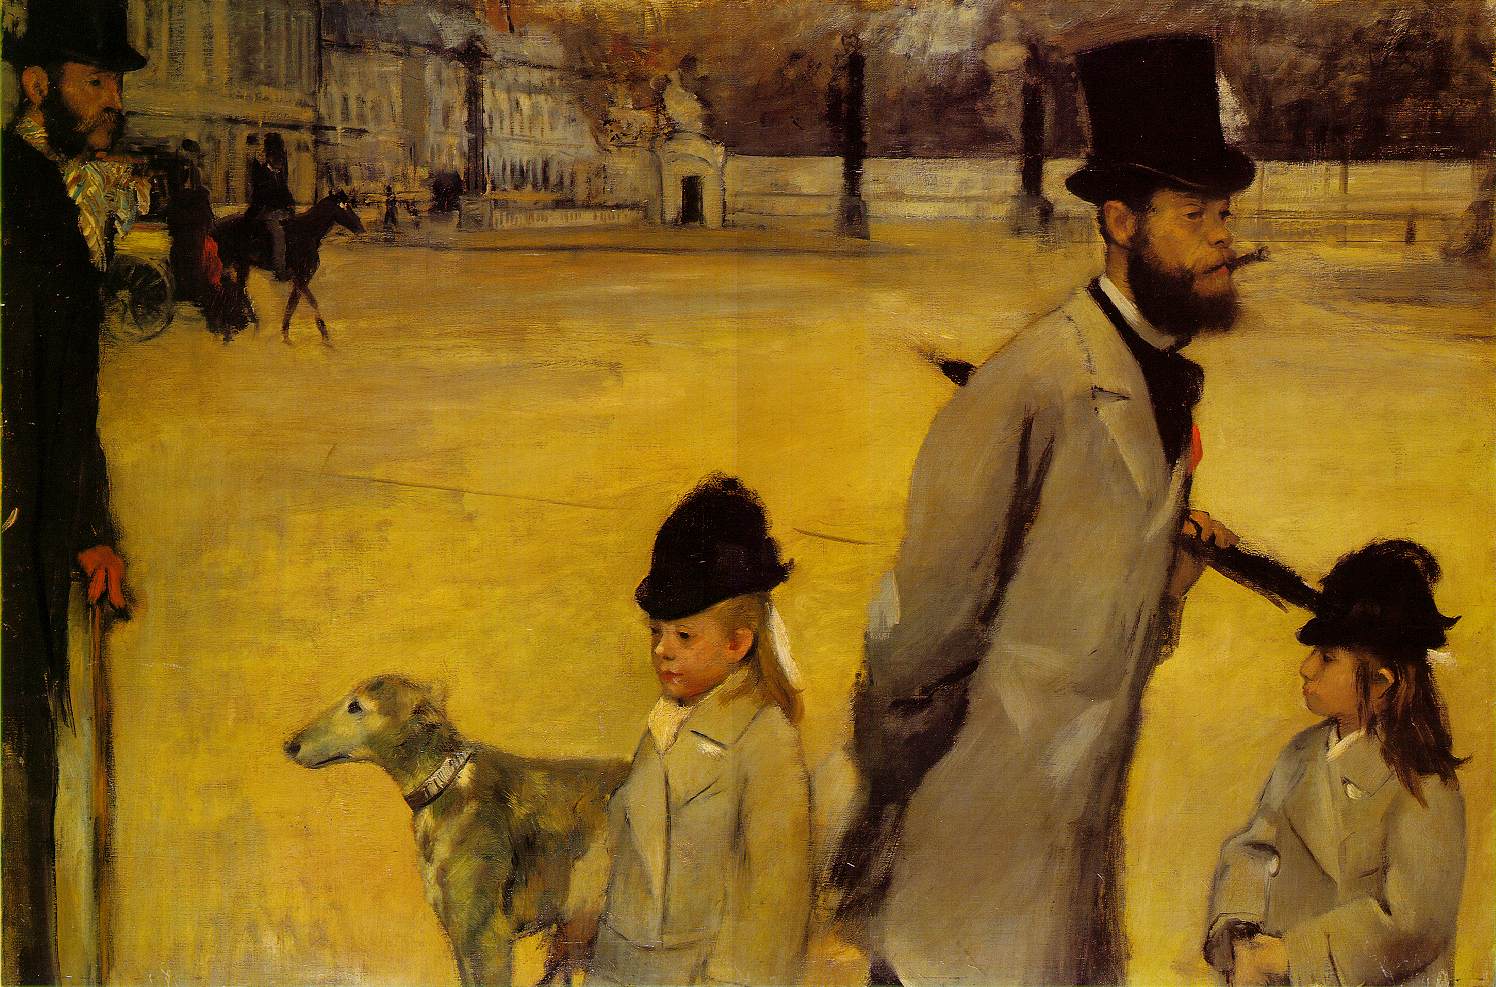
First select an famous painting, photograph, musical score, play, writing... to inspire your animation. Here are a few to get you started. Choose carefully... Then brainstorm a story that you are going to derive from the art historical piece either to start it all off, to meet it in the middle or to conclude your animation. Draw out a story board, establish character(s), your background, a conflict and resolution.